


The pages get progressively smaller to allow the pages to flip easily.
Directions for Waterfall Scrapbook:
Supply List:
Cover Page Dimensions – 11 x 6 scored at 5 1/4 and 5 3/4 Slider Page Dimensions – 11 x 5 ½ scored at 5 ½, 6, 6 ½, 7, 7 ½, and 8
Page One – 5 ½ x 5 ½ Page Two - 5 x 5 ½ Page Three – 4 ½ x 5 ½
Page Four – 4 x 5 ½
Page Five – 3 ½ x 5 ½
Page Six – 3 x 5 ½
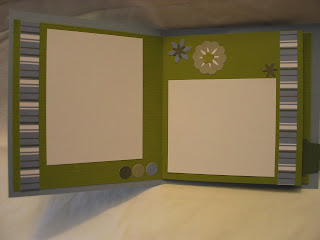
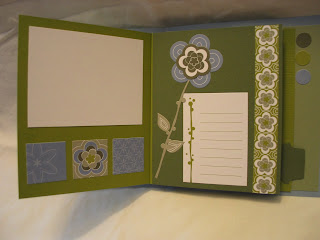
You can choose all the same colours for the pages, or vary the colours. I used Old Olive, Bordering Blue, and Always Artichoke.
Punches, ribbons, brads, rub-ons - whatever you wish to use to decorate your scrapbook.
1.Crease the slider page really well along all score lines. Crease them so when the page is left open on its own it wants to curl up. Fold in half and prepare for assembly.
2. Apply sticky strip to each of the slots where a page will be placed (ie. Between each of the score lines)
3. Adhere the pages from the smallest (the page on the furthest right side) matching the left edge with the score line and the bottom with the bottom of the slider page.
4. Keep attaching pages in order from right to left.
5. Attach the left page of the slider sheet to the inside front cover
6. Using the Round Tag Punch, create a tab in a coordinating colour of cardstock or DSP and using sticky strip attach it to the outside edge of the last (smallest) page of your scrapbook.
7. Scrapbook the pages according to your taste and desire.
8. The inside back cover can be used for a photo or you could attach a pocket to hold momentos.
9. When your scrapbook is closed and facing you, 'push' the tab to open the pages, and 'pull' the tab to close them.
If you have any questions, please contact me! I'd love to see your creations using this idea. carolmatthews@ns.sympatico.ca
No comments:
Post a Comment