
If you visited yesterday you saw the outside of the box, well here's a peek at what's inside...

A set of six Thank You cards:
 I wanted to keep them looking old and antiquey (is that a word?), so I sponged them all with Soft Suede. I chose to showcase a different embossing folder on each card, and I tied them all together by using the same colours - Tempting Turquoise, Crumb Cake, and Very Vanilla.
Because I had gold embossed some of the elements on the book box, I wanted to use gold embossing on some of the cards too.
Cards 1 & 2


It kind of reminds me of those Readers Digest Condensed Books!
Hope you enjoyed this project - I'd love to hear your opinion!
Happy Stamping!
Carol

A set of six Thank You cards:

Because I had gold embossed some of the elements on the book box, I wanted to use gold embossing on some of the cards too.
Cards 1 & 2

The first one uses the Manhattan Flower Embossing Folder and after it was embossed I gently rubbed the sheet with VersaMark and then heat embossed it with gold Embossing Powder. Then I coloured in the roses with a Tempting Turquoise Stampin' Write Marker. Stamped 'thanks' from the Thank You Kindly stamp set and it's done. I really like how the VersaMark held some of the gold embossing within the petals too.
The second card uses the Framed Tulip Embossing Folder, plus the single Fine Flourish stamp and flowers from the new Fabulous Florets set from the new Summer Mini. There's a bit of glitter in the centre of the flowers too.
Cards 3 & 4

Card three is made using the Vintage Wallpaper Embossing Folder and the raised design was sponged with Soft Suede. I used the Fine Flourish stamp matted with the largest of the two Scallop Squares Duo Die.
I made card four with the new Flower Garden Embossing Folder and used the same technique of gently rubbing the VersaMark pad over the raised image and heat embossed with gold embossing powder. The shine doesn't show very well in the photo but it's impressive in real life!
Cards 5 & 6

The fifth card uses the Perfect Polka Dots Embossing Folder. However I used a technique I learned from Sandi MacIver of embossing 2/3 of the paper, then taking it out of the folder, turning it end for end, and embossing a small section on the bottom. This leaves a flat space for stamping. I also scored lines below and above the dots. (click on the photo to enlarge)
The last card... well I'm not sure I like it, but I included it anyway. (I was reminded that everyone has their own unique opinions about cards when I showed my husband a card I had carefully distressed and sponged and he said "Well I like the image but it's too bad it's torn along the edge - can you fix it?") So someone may like it the best! I rubbed the Tempting Turquoise Classic Ink Pad on the indented side of the Elegant Lines Embossing Folder and ran the paper through the Big Shot.
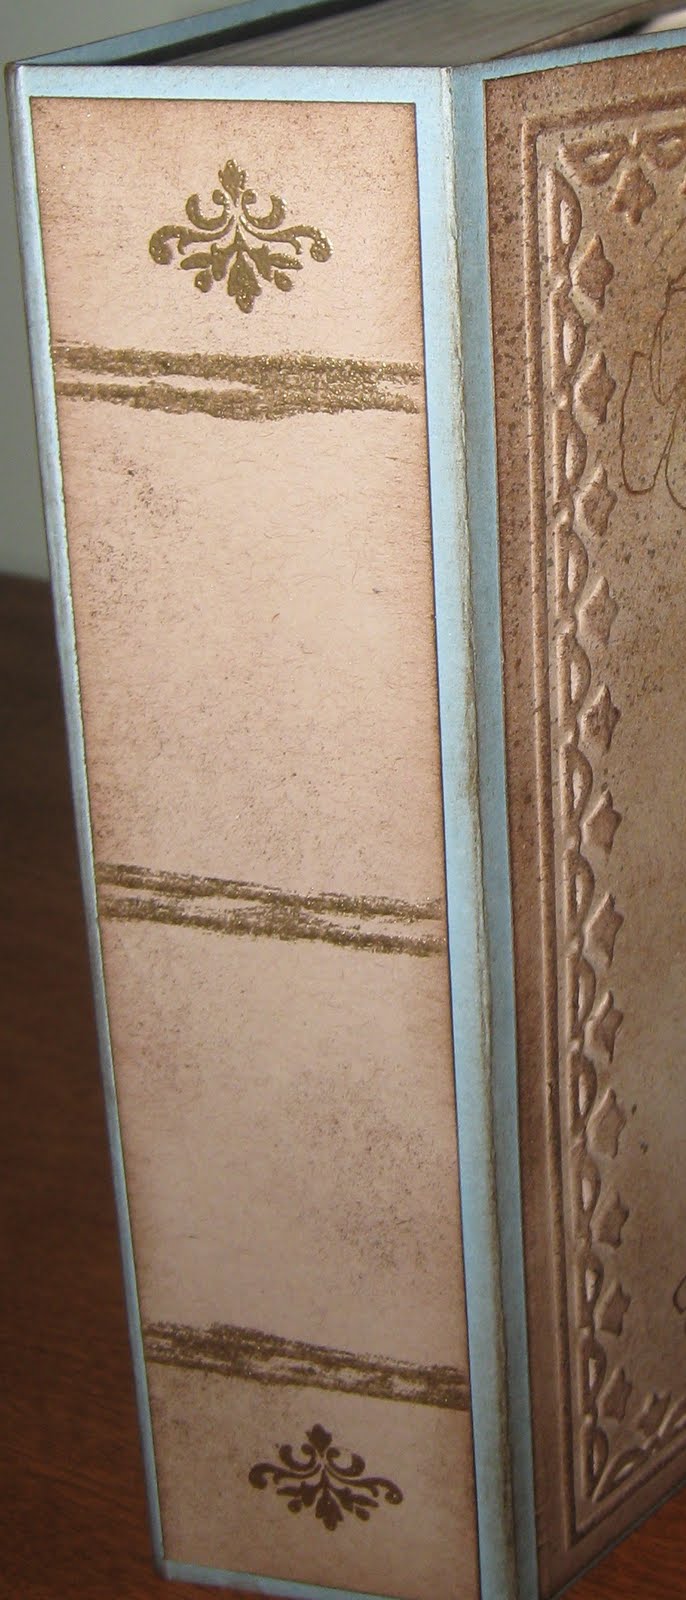
One of my favourite parts of the whole project is the 'binding' of the book:
Hope you enjoyed this project - I'd love to hear your opinion!
Happy Stamping!
Carol
No comments:
Post a Comment